SAND FREE
SUPER ABSORBENT
QUICK DRY
COMPACT
RECYCLED FIBRES
ODOURLESS
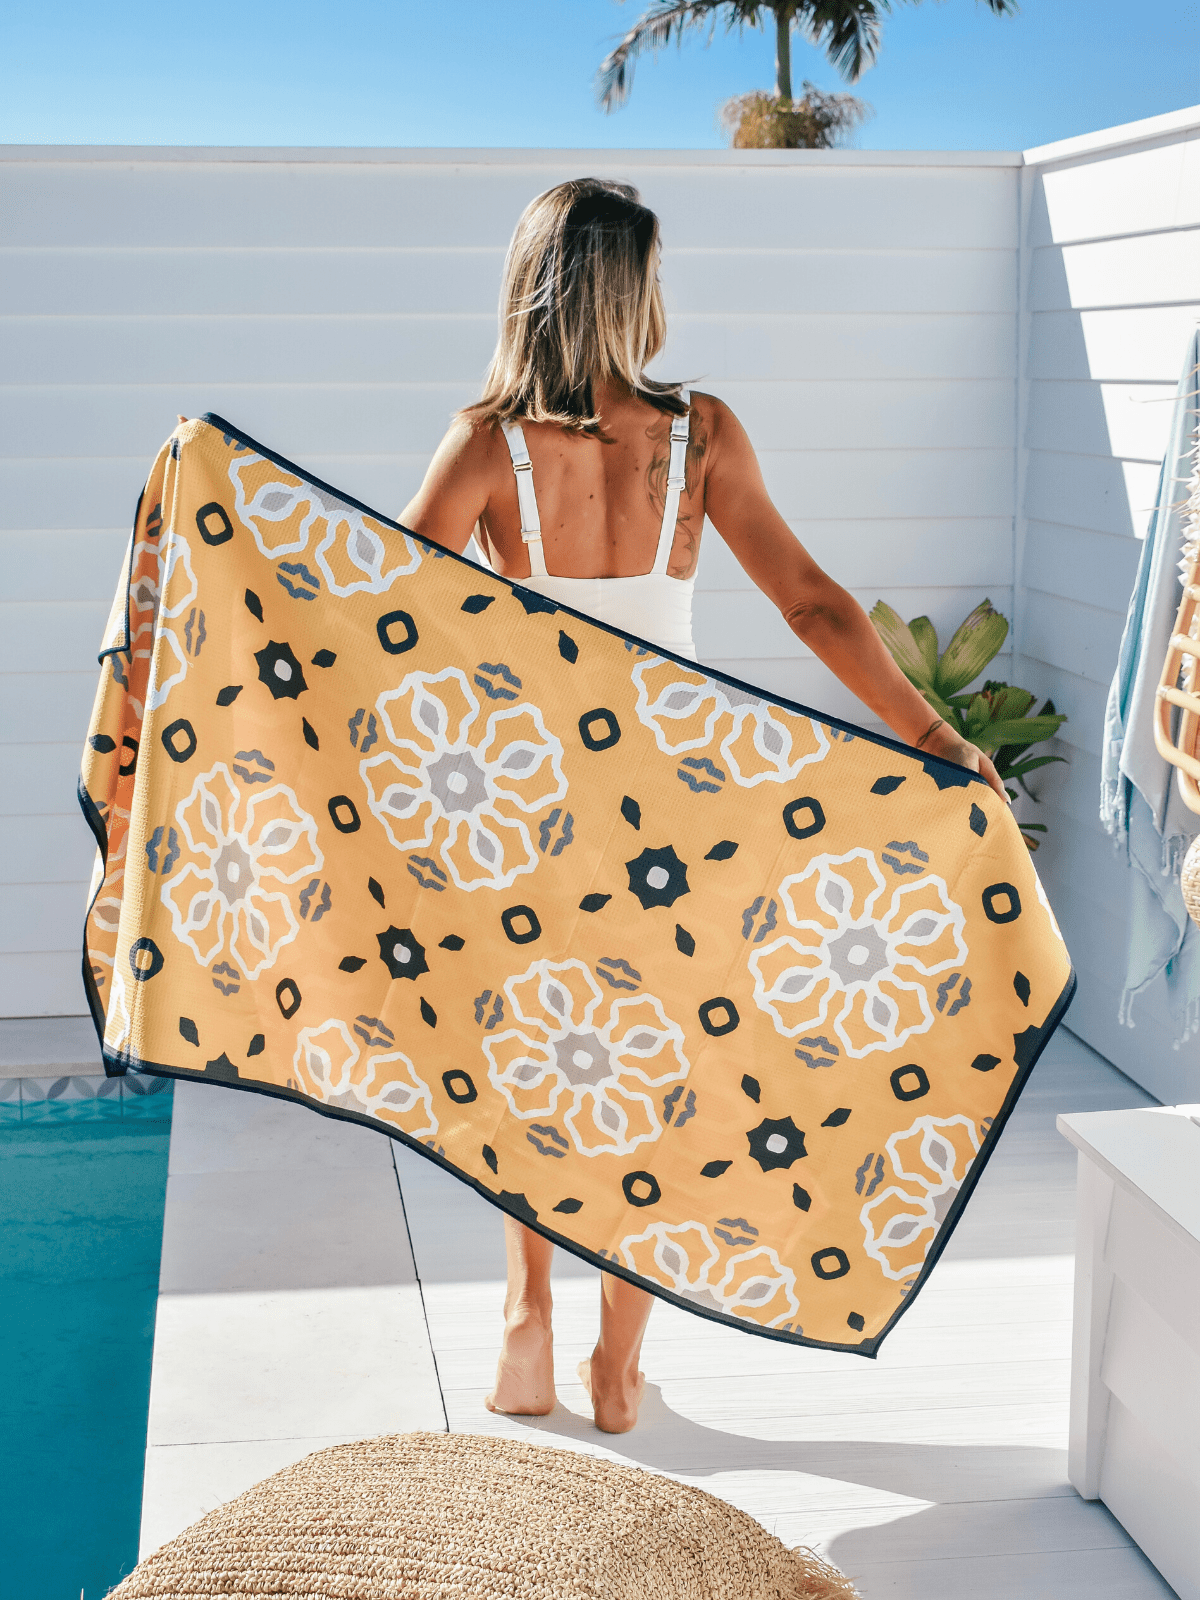
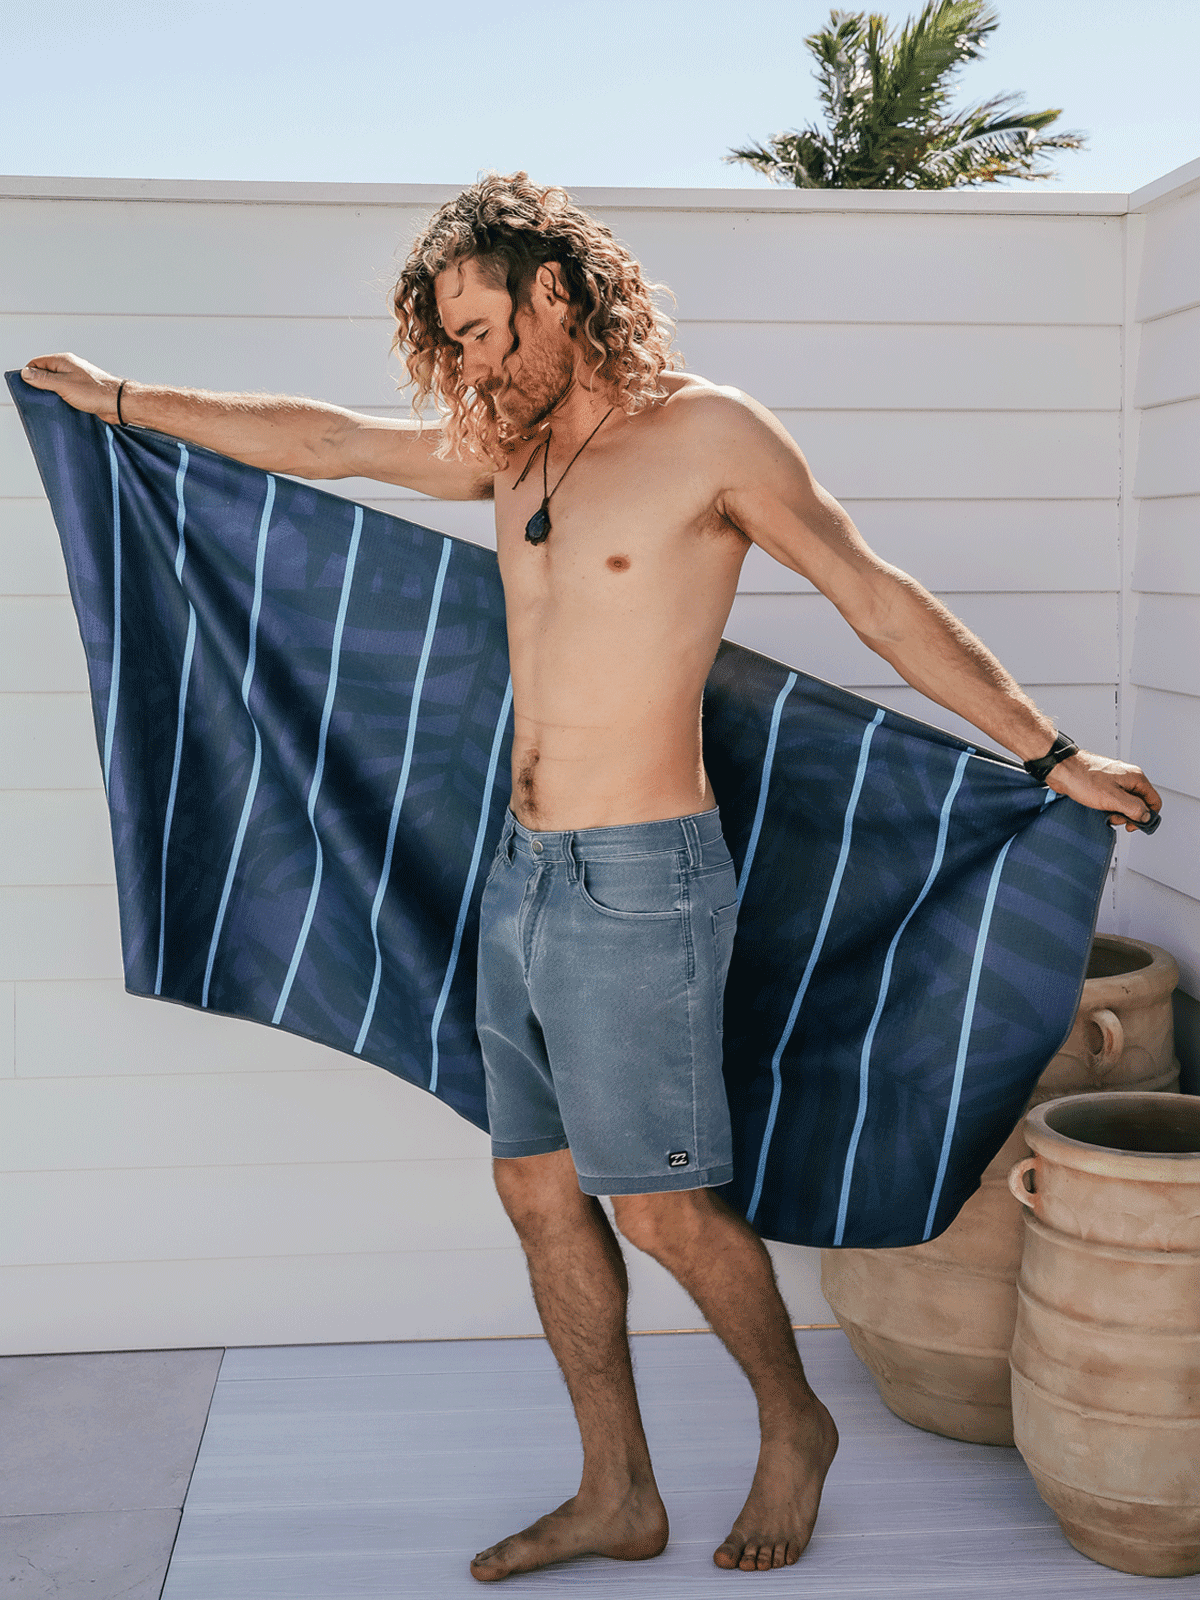
El Paradiso
Boho Sun
Island Nights
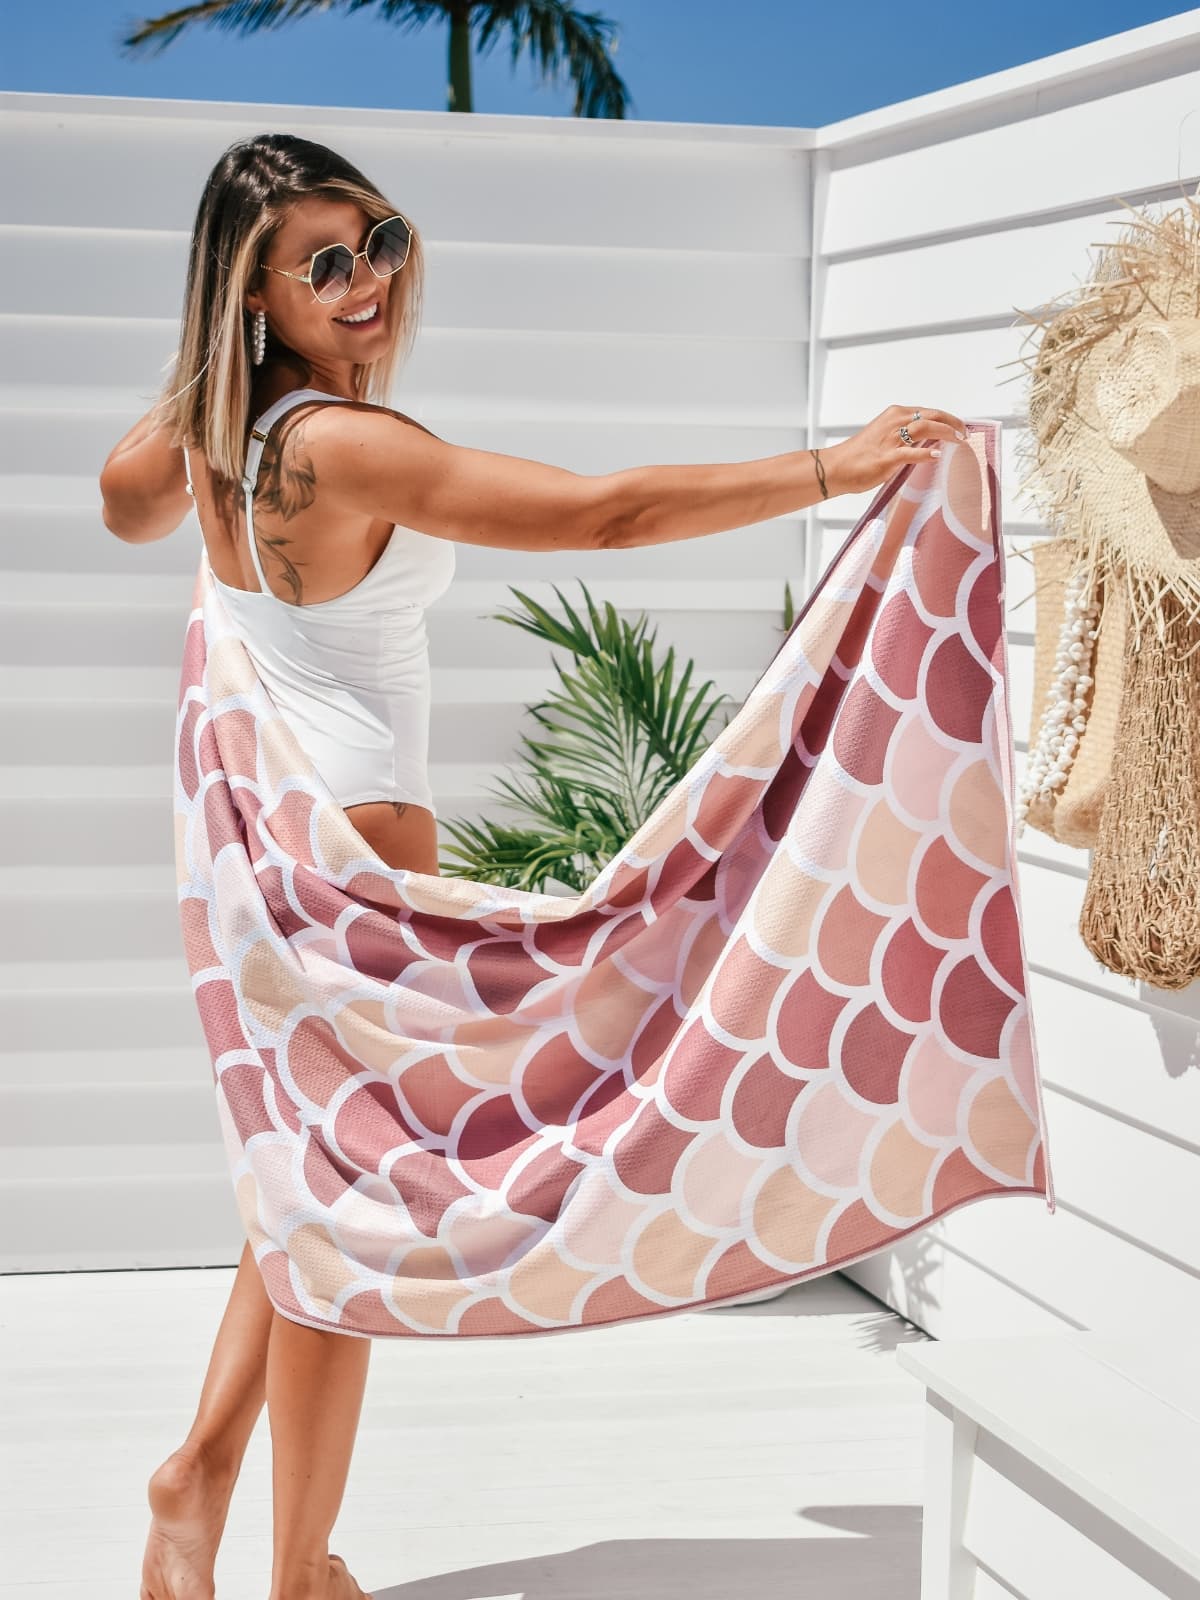
Pink Mermaid